Smart lighting is one of the most popular and accessible ways to start automating your home. With a smart lighting system, you can control your lights remotely, set schedules, and even create custom lighting scenes to match your mood or activities.
Here’s how to set up a basic smart lighting system in your home.
Step 1: Choose Your Smart Bulbs
The first step in setting up a smart lighting system is selecting the right smart bulbs. Popular options include Philips Hue, LIFX, and TP-Link Kasa. Consider factors like brightness, color options, and compatibility with your existing smart home ecosystem.
Step 2: Install and Connect Your Bulbs
Once you’ve chosen your bulbs, install them just like any other light bulb. Next, connect them to your home Wi-Fi network. Most smart bulbs come with an app that guides you through the connection process. If your bulbs require a hub (like Philips Hue), be sure to set up the hub first and then pair your bulbs to it.
Step 3: Set Up Your Smart Lighting System
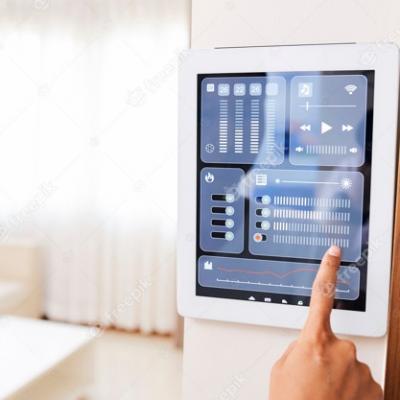
Use the app to configure your smart lighting system. You can name your bulbs, group them by room or function, and set up scenes that allow you to control multiple bulbs at once. For example, you might create a "Movie Night" scene that dims the lights in your living room.
Step 4: Integrate with Voice Assistants
If you have a voice assistant like Amazon Alexa, Google Assistant, or Apple’s Siri, you can integrate your smart lighting system for voice control. This allows you to turn lights on or off, dim them, or change colors using simple voice commands.
Step 5: Automate Your Lighting
Take full advantage of your smart lighting system by setting up automation. Schedule your lights to turn on at sunset, gradually brighten in the morning, or change colors based on the time of day. Automation can also enhance security by making your home appear occupied when you’re away.
Smart lighting systems offer flexibility, convenience, and energy savings, making them a fantastic entry point into the world of smart home technology.


